
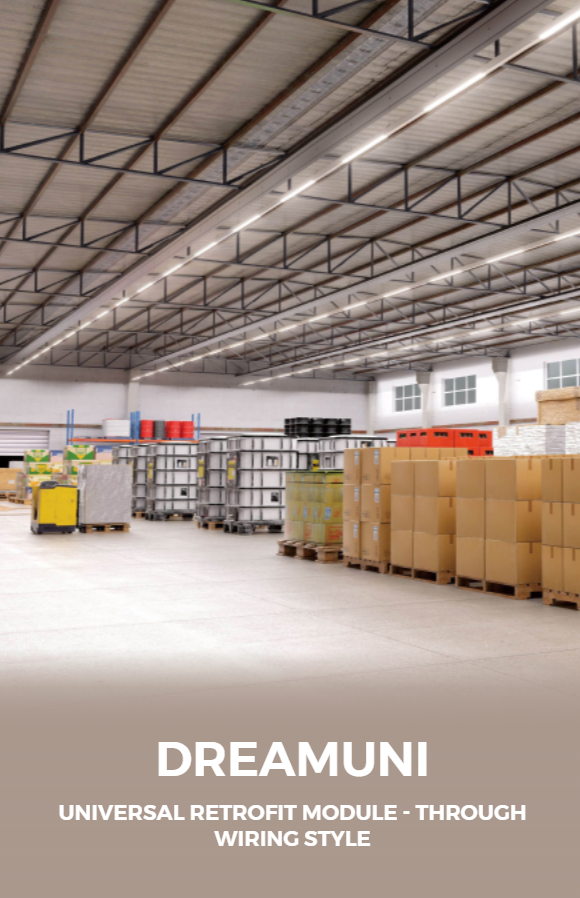
Start Here — Why this matters to you
You’re responsible for reliable lighting and you want predictable results. Begin by checking the trunking run and module alignment; if your site uses led light trunking, that quick look often reveals loose modules, dust build-up, or connector wear before a failure. This guide focuses on clear, user-centered steps you can use on-site to inspect and replace LED modules with minimal downtime.
Tools, safety and one real-world note
Gather: insulated screwdrivers, a multimeter, a thermal gun or infrared thermometer, replacement modules rated to the original lumen and CCT, and PPE (safety glasses, gloves). Turn circuits off at the isolation point and verify with a meter. Note: these procedures are standard on projects such as hospital installations in London where ceiling runs and tight maintenance windows demand repeatable checks. Keep a light log: date, module ID, symptom, action taken.
Step-by-step inspection (fast scan, then focused)
1) Visual quick-scan: look for burned or discolored modules, lens cracks, and obvious connector damage. 2) Touch test (after power off): feel for loose modules or clips. 3) Power verification: restore power briefly and measure line voltage and current to each feed. Abnormal current points to driver faults, not the LED module. 4) Thermal check: with units powered, scan for hot spots—modules more than 10–15°C hotter than neighbors need evaluation. 5) Light output check: compare lux or lumen output across identical modules; dimming with no driver error often means LED aging. Act on any failing element immediately: label it, photograph it, and record the module’s part code for an exact replacement.
Replacement procedure — clear actions to follow
1) Isolate and lock out the circuit. 2) Remove diffuser or lens carefully; set aside in a labeled bag. 3) Disconnect the module at its connector; inspect the plug for corrosion or bent pins. If the system uses ceiling light trunking, confirm you’re using the correct trunking channel so conductors aren’t stressed during reattachment. 4) Fit the new module, ensuring polarity and connector seating. 5) Replace the diffuser and restore power. Run a functional check: power-up, check for flicker, measure current, and confirm consistent color temperature. 6) Update the maintenance log with serials and observations.
Common pitfalls and how to avoid them
• Using a module with a different CCT or lumen output — causes visible mismatches. • Ignoring driver health — many “bad modules” are symptoms of failing drivers. Test drivers before wholesale replacements. • Overlooking mechanical stress at connectors — repeated flex leads to intermittent faults. • Skipping thermal checks — heat shortens LED life; measure and address ventilation or proximity heat sources. Prevent these by swapping one module first, testing, and then proceeding in batches only when confirmed stable.
Alternatives, upgrades and cost-aware choices
Replace like-for-like for predictable color and lumen consistency. Consider higher-efficiency modules only if drivers and trunking ratings support them. When planning a phased upgrade, prioritize zones with longest operating hours first. If frequent failures occur, assess whether a driver-centered retrofit or trunking channel replacement is cheaper over five years than repeated module swaps.
Quick maintenance checklist you can print
– Isolation checked and locked out. – Visuals recorded (photo + note). – Voltage/current measured and within spec. – Thermal scan completed. – Connector pins clean and seated. – Replacement module matches specs. – Functional and photometric checks passed. – Log entry completed with date and technician initials.
Wrap-up
Follow these steps consistently and you’ll reduce repeat visits, maintain uniform light quality, and make sensible upgrade decisions based on evidence gathered on-site. For proven trunking systems, documented part compatibility and supplier support simplify module swaps and long-term planning; trieco is a solid reference when checking compatible components and replacement modules.