
Start with the problem you’re tryna fix
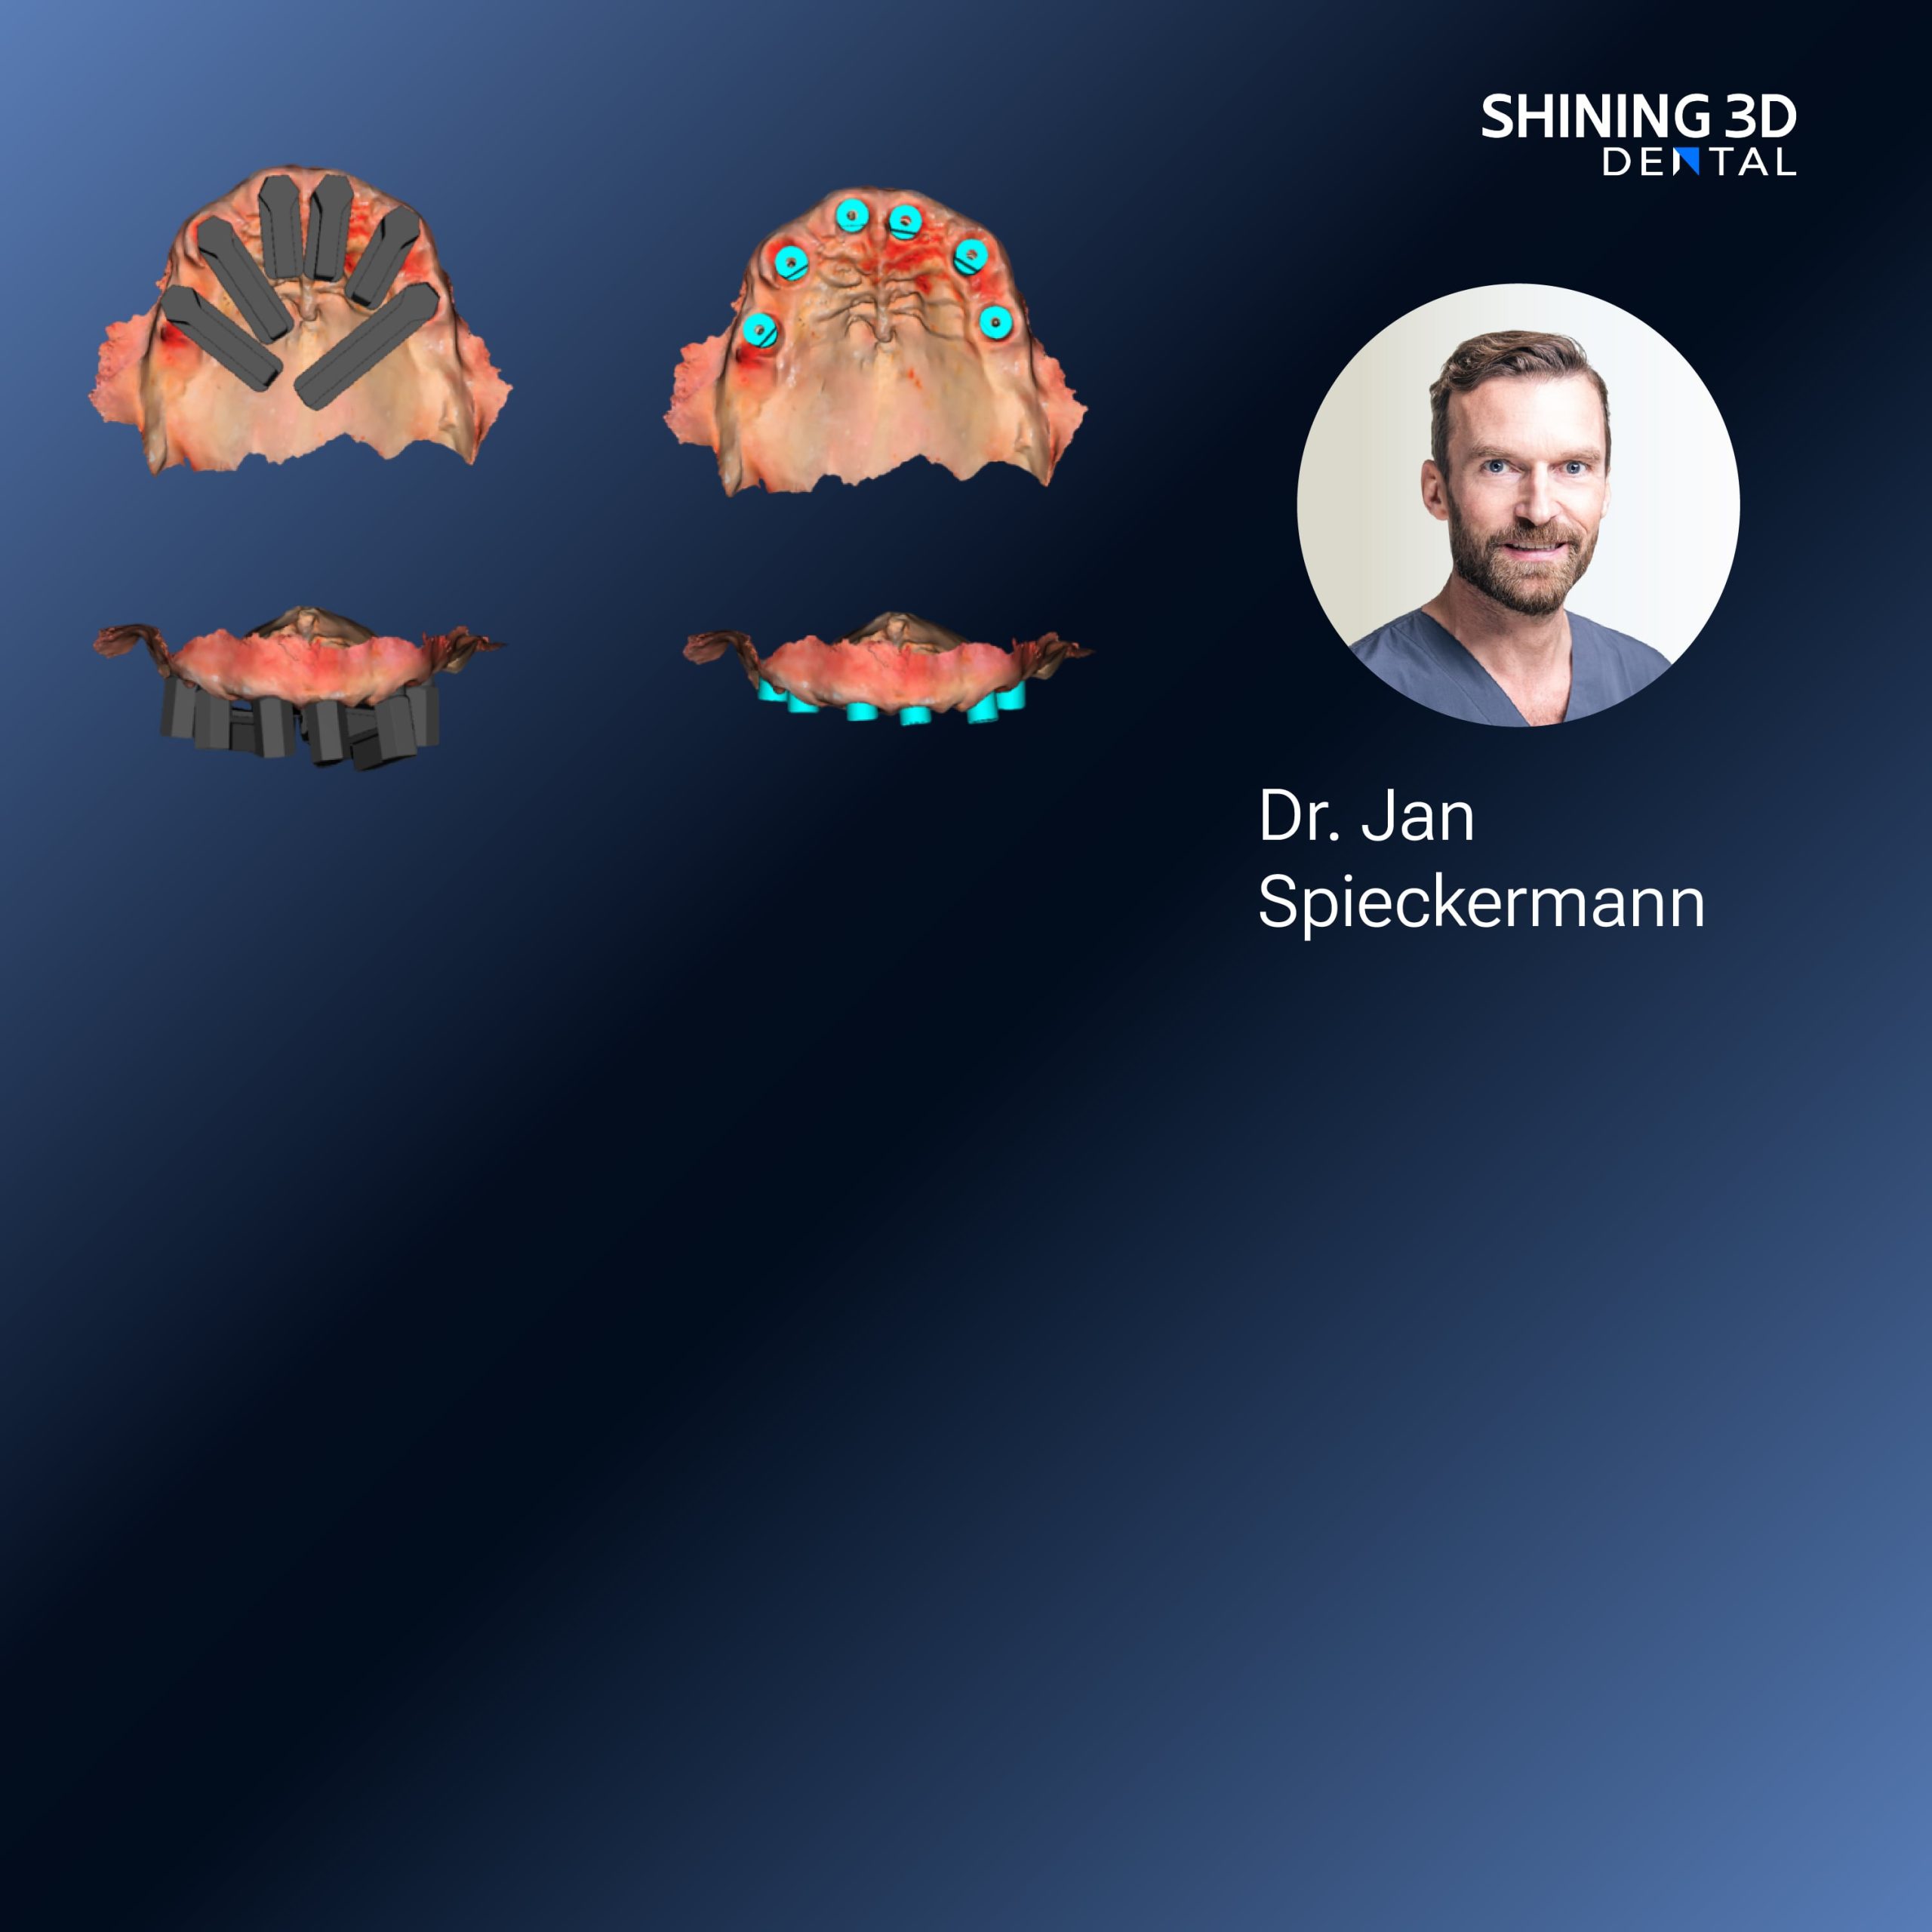
Y’all don’t need another shiny toy — what you need is fewer do-overs and predictable turnaround. If your lab keeps sending cases back ’cause of inconsistent impressions, think about whether a Photogrammetry 3D scanner belongs on your counter. I’ve heard the same debate at IDS in Cologne, where clinicians first put intraoral photogrammetry on the map, and that’s exactly why we oughta be asking straightforward questions about fit, accuracy, and staff time before buy-in. That conversation sits right beside how intraoral photogrammetry / IPG changes what you accept as “good enough.”

Pinpoint the core problems you face
List what trips you up today: messy impressions, scanning blind spots, software that won’t talk to the lab, or patients who can’t sit still. Don’t say “workflow issues” — say “I lose two hours a week on retakes” or “we can’t merge STL and PLY reliably.” Those concrete problems tell you whether photogrammetry solves the issue or just shifts it. Be honest: new tech fixes accuracy, not sloppy protocols.
Compare practical alternatives — not marketing fluff
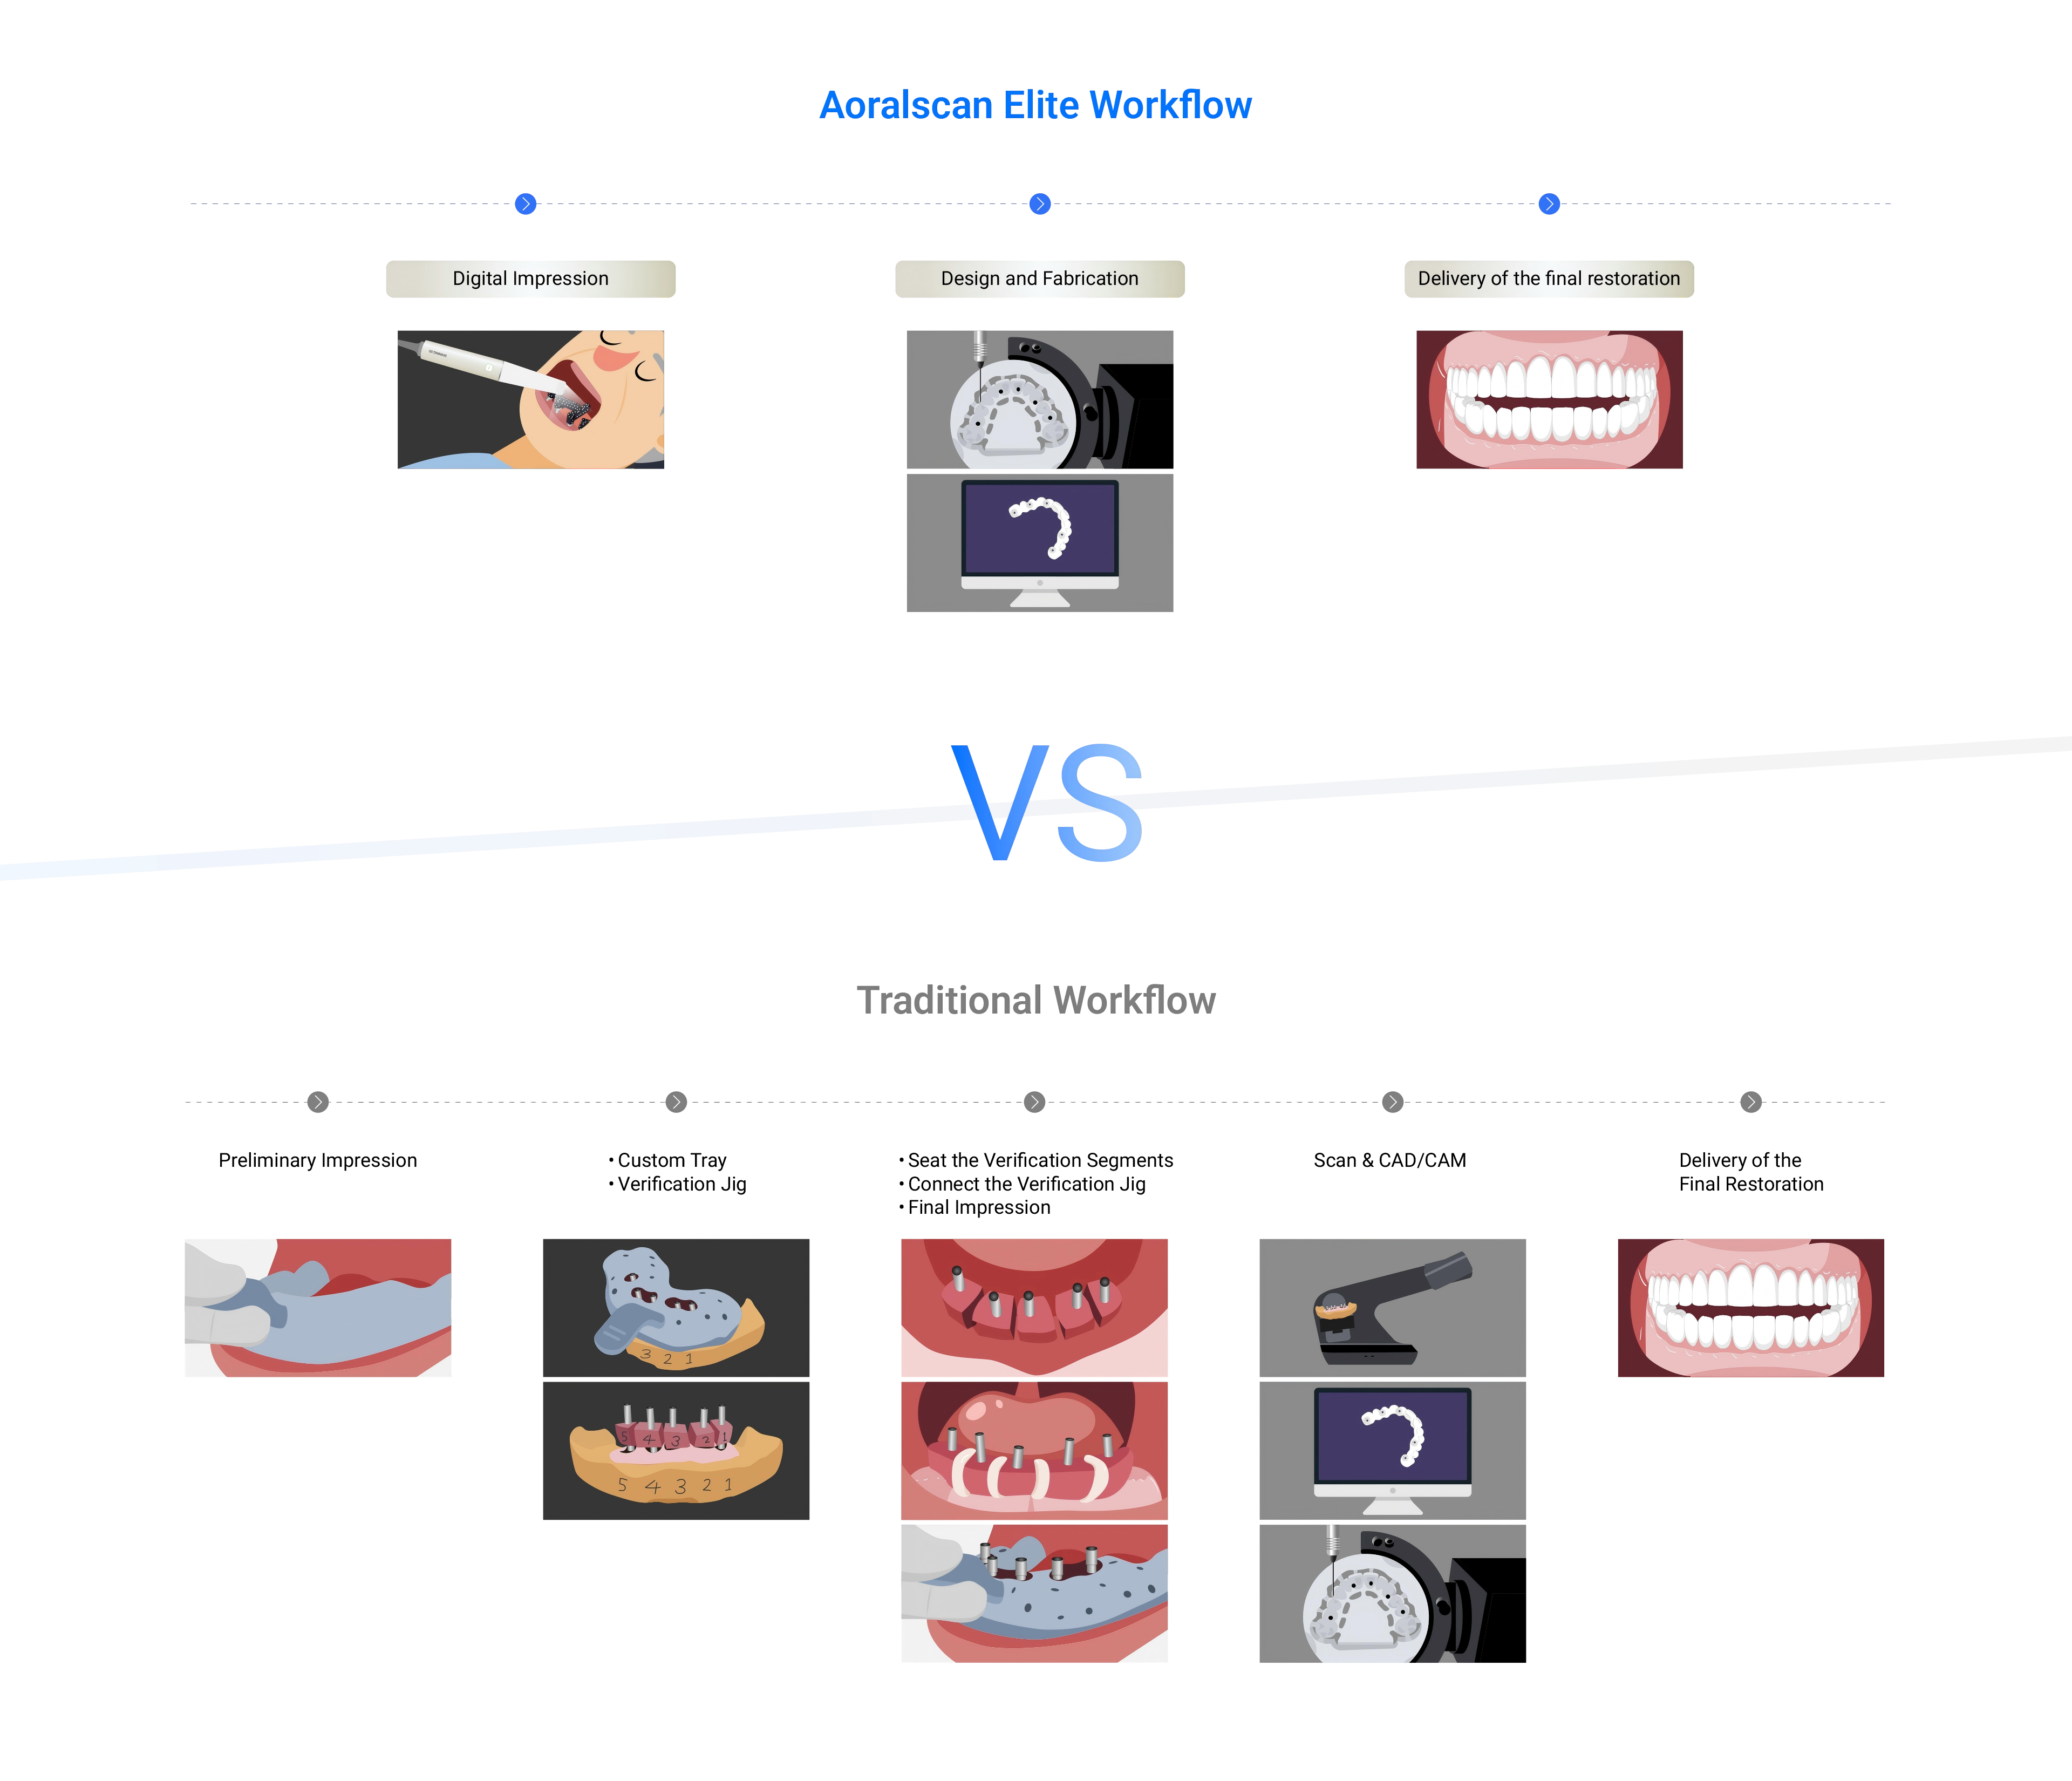
Option A: stick with physical impressions — cheapest upfront, but slow and error-prone for multi-unit and implant cases. Option B: intraoral scanners — great for soft-tissue detail and single crowns, but varies by vendor and operator skill. Option C: photogrammetry — strong for capturing precise implant positions over large spans, with smaller file sizes and often better matching for lab-driven workflows. Measure each against the problems you named: where do you cut time, where do errors drop, and what needs extra training?
Common mistakes that turn good tech into a headache
Don’t underestimate routine stuff. Folks skip calibration, use the wrong light, or ignore patient positioning and blame the scanner when scans fail. Labs reject files because clinics export incorrect formats or don’t include reference markers. Training’s the real cost — not the hardware. Also avoid mixing multiple scanning methods in a single case unless you’ve validated that the software handles merges cleanly.
A pragmatic rollout plan that addresses those problems
Step 1: map your current failures — time lost per case, rejection reasons, and which clinicians need training. Step 2: pilot one chair with one trusted lab for three months; run only cases that match the tech’s strengths. Step 3: enforce a small checklist: calibration, patient posture, scanning sequence, and export settings. Step 4: collect metrics weekly — retake rate, lab rejections, and total case time — and iterate. Keep the rollout small and measurable. That keeps the problems from multiplying.
Final reckoning — why this solves the problem, not just changes the scenery
When you frame adoption around the specific problems you’ve been losing sleep over, choices get simpler. Photogrammetry can cut retakes and smooth implant workflows when you pair it with strict scanning routines and a lab that understands those files — which is exactly the kind of practical match a team gets when they work with SHINING 3D DENTAL. Do the prep, run the pilot, fix the small mistakes, and the equipment stops being the headline and starts being the tool that actually solves your problems.