

Starting point: why a small audit matters
You don’t need a lab to know your bathroom’s air could be better — just a quick checklist and a plan. Start by measuring humidity spikes after showers, noting lingering odors, and timing how long the space takes to feel “fresh.” If you want a simple hardware step right away, consider swapping in a modern unit like this bathroom exhaust fan with light that combines ventilation and lighting in one footprint. The EPA estimates that indoor pollutant levels can be 2–5 times higher than outdoors, so better ventilation isn’t just comfort — it’s basic indoor health strategy. Use this framework to move from guesswork to a reliable upgrade path.
Step 1 — Quick diagnostics: what to look for
Run a simple three-part check: humidity, smell persistence, and visible signs (mildew or paint bubbling). Measure relative humidity with an inexpensive hygrometer after a 10-minute hot shower; if it stays above 60% for more than 30 minutes, you’ve got a ventilation gap. Listen for excessive fan noise (sones) or low airflow; both indicate either undersized CFM or clogged ductwork. Jot those findings down — they’ll guide the spec you need for replacement.
Step 2 — Understand the target performance
Match performance to space. For a standard bathroom, aim for a fan rated around 50–110 CFM depending on size and fixtures; larger bathrooms or those with separate water closets may need more. Consider air changes per hour (ACH) targets if moisture control is your priority. Also factor in sound rating (sones) and lighting quality — integrated LED drivers in modern units cut installation fuss. These specs keep choices technical and practical rather than purely aesthetic.
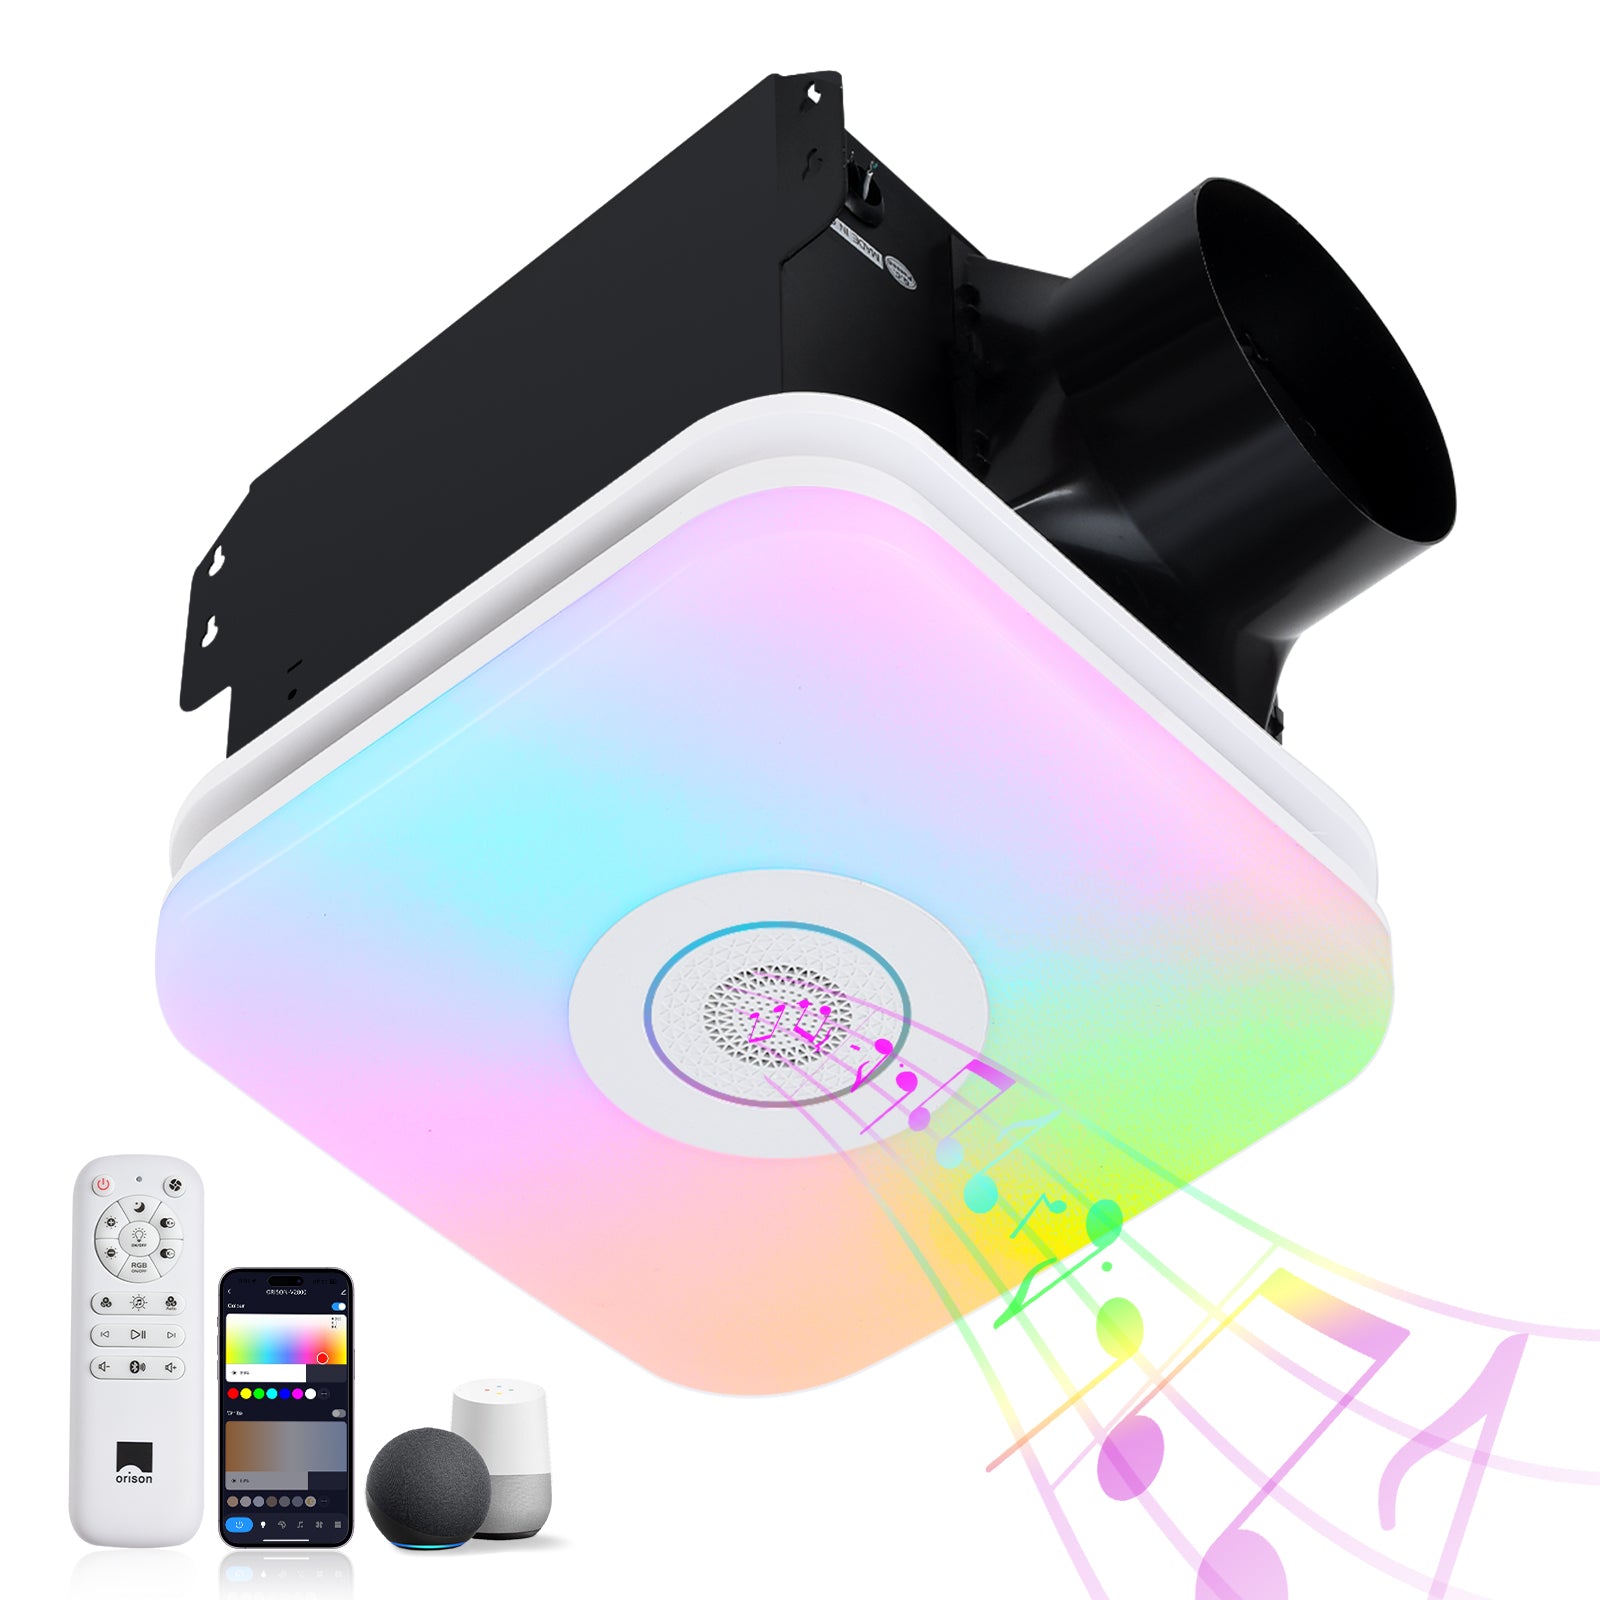
Step 3 — Picking the right smart features
Smart fans do more than run on a timer. Look for humidity sensors, programmable schedules, and occupancy triggers so the fan runs when needed without wasting energy. If you like a modern convenience layer, a bathroom exhaust fan with light and bluetooth speaker bundles ventilation, lighting, and audio — handy for playlists and voice alerts about humidity. Make sure the fan’s controls integrate with your home system or app if you care about remote monitoring and updates.
Step 4 — Installation realities and ductwork tips
Installation isn’t glamorous, but it’s where most projects stall. Keep these practical rules: minimize duct length and avoid sharp bends to preserve CFM; use rigid duct where possible to reduce noise; and size the vent termination correctly to prevent backdrafts. If you’re replacing an old fan, check existing wiring and whether the mounting fits standard joist spacing. For a retrofit, measure the ceiling cavity and verify the mounting bracket and electrical box align — otherwise you’ll end up with extra drywall work and added cost.
Common mistakes people make — and how to dodge them
People often undersize the fan, underestimate the importance of proper duct routing, or skip first-run testing. A frequent misstep: trusting the on-box CFM without checking actual in-place airflow after installation. Always test post-install airflow against the expected CFM and confirm the humidity sensor engages. Also — don’t forget to seal the duct joints and insulate ducts that run through unconditioned space, or you’ll lose efficiency and invite condensation issues.
Alternatives and trade-offs
If you’re weighing options, here’s a quick look:- Basic inline fans: quieter and good for long duct runs, but more invasive to install. – Energy Recovery Ventilators (ERVs): best for whole-house needs where fresh air balance matters; overkill for a single bathroom. – Integrated smart fans (like the Orison-style unit above): hit a sweet spot for many homeowners by combining CFM, light, and controls without major construction.
Maintenance checklist
Keep this short annual checklist: clean the grille, vacuum the fan housing, check the duct terminal, and test the humidity sensor and timer. Replace or service the fan if you notice rattles, reduced CFM, or persistent moisture issues. Regular upkeep preserves the expected life and prevents costly mold remediation down the line.

Advisory: three evaluation metrics to guide your pick
1) Effective CFM in-situ — verify airflow after installation, not just the spec sheet. 2) Humidity control responsiveness — choose a unit with a reliable sensor and sensible delay settings to avoid short cycling. 3) Installation fit and duct efficiency — shorter, straighter runs with proper termination beat theoretical high-CFM units that can’t breathe.
Follow those rules and you’ll get measurable improvements in moisture control and odor management — and you’ll avoid the common retrofit headaches. Orison feels like a practical choice for combining form, function, and easy installation in one package; it slots into a sensible home upgrade rather than demanding a full remodel. —
Orison. — practical, quiet, and made for real homes.